Things You\’ll Need
-
1 3/4 yards of muslin, 45 inches wide
-
2 yards of printed fabric, 45 inches wide
-
4 bags of polyester fiber fill
-
Sewing machine
-
Thread
-
Scissors
 Body pillows look great. Image Credit: Debbie Williams
Many people enjoy the additional support offered by a body pillow. Body pillows are especially helpful during pregnancy, as well as for people who experience back problems. The single, long pillow also looks sleek and attractive on your bed. And making a body pillow is a simple sewing project that can be completed in a couple of hours for a fraction of the cost of purchasing one.
Video of the Day
How to Make a Body Pillow
Step 1
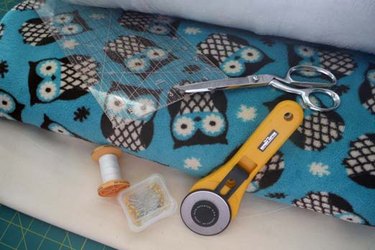 Things you\’ll need. Image Credit: Debbie Williams
Choose fabrics that are washable and which compliment the decor of your bedroom. Organize your supplies before you start, so the pillow can be completed at one sitting. Please see the last slide for an itemized list of tools and materials.
Step 2
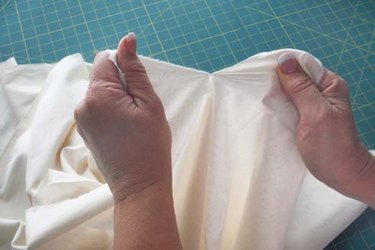 Tearing cotton fabrics results in a straight line. Image Credit: Debbie Williams
Wash and press both fabrics. Trim the selvages from the muslin. Ensure the length is 63 inches, and clip the width to 40 inches. Tear the muslin to get a straight line.
Step 3
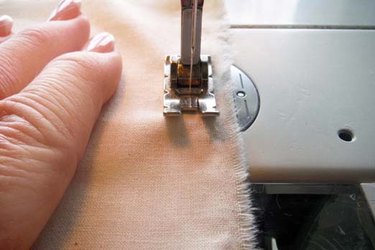 Sew the seams. Image Credit: Debbie Williams
Fold the muslin in half, sew across the end and down the side using a 5/8 inch seam. Finish the seams with a zig-zag stitch.
Step 4
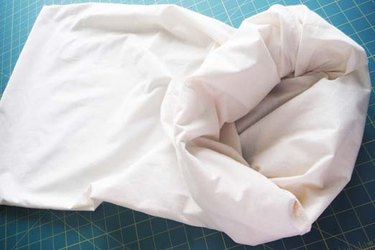 Unroll as you stuff the pillow. Image Credit: Debbie Williams
Clip the corners and turn the pillow right side out. Roll up the edge to make it easier to stuff.
Step 5
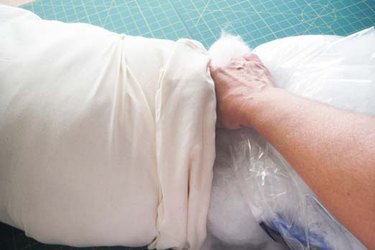 Stuff the pillow with fiber fill. Image Credit: Debbie Williams
Stuff the pillow with fiber fill, distributing it evenly. Pack it tightly for a firm pillow, or lighter for a soft pillow — whichever you prefer. Unroll the fabric as you work your way up to the top of the pillow.
Step 6
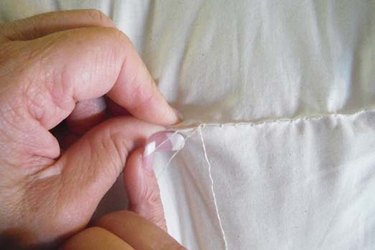 Hand stitch the seam closed. Image Credit: Debbie Williams
Turn down a 5/8 inch seam and hand stitch the seam closed using a whip stitch or a hidden hem.
Step 7
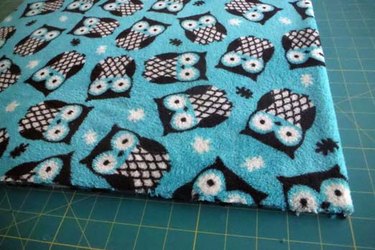 Square the fabric. Image Credit: Debbie Williams
Fold the pillowcase fabric in half and square it by laying the selvage edge along a straight line on the cutting mat. Lay the straight edge ruler across the fabric in line with the rule marks on the mat, and cut a straight line through both thickness of the fabric. Trim the selvages and cut one piece 22 inches by 72 inches and one piece 22 inches by 65 inches from the fabric. Turn up a 2-inch hem on the 65-inch piece and sew in place.
Step 8
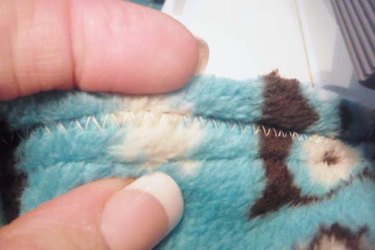 Finish the seams with a zig-zag stitch. Image Credit: Debbie Williams
Stack the cut pieces right sides together and raw edges even at one end. Fold the 72-inch piece back over itself to be even with the hemmed side of the 65-inch piece and pin in place. Stitch across the opposite end and down both sides through all thicknesses. Finish the edges with a zig-zag stitch.
Step 9
 Pillowcase with envelope style closure. Image Credit: Debbie Williams
Turn the pillowcase right side out and pull over the pillow, stuffing the end under the flap and encasing the end of the pillow.


