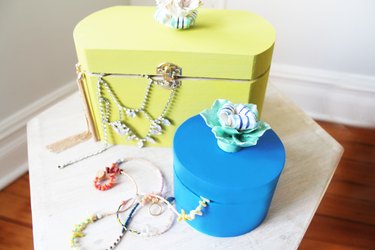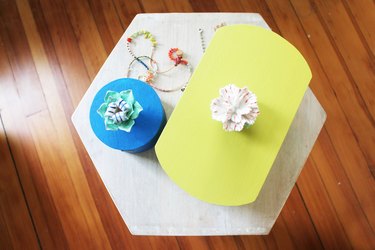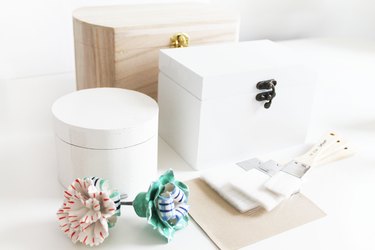
Have you ever found the perfect jewelry box for your vanity at the flea market — but hated the finish? With these simple steps you can customize any box to fit your decor and add an extra special detail with a decorative knob.
Video of the Day
Things You\’ll Need
-
Wood Jewelry Box
-
White Acrylic Paint
-
Various Colors of Acrylic Paint
-
Clear Gloss Sealer
-
Paint Brushes
-
Fine Grit Sand Paper
-
Drill and Drill Bit
-
Decorative Knobs
-
Sticky Felt Dots
Step 1: Sand & Prime
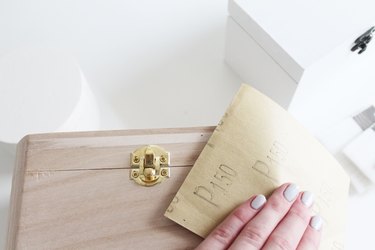
If painting an unfinished wood jewelry box, begin by lightly sanding rough areas and edges with a fine grit sandpaper. When the entire surface feels smooth, dust lightly with a damp cloth to remove sawdust before priming. If upcyling a prefinished jewelry box, sanding will allow new coats of primer and paint to adhere. Prime the clean surface with white paint and allow to dry completely before painting another color.
Step 2: Paint
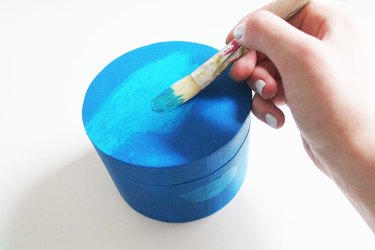
Paint thin layers of acrylic paint onto the surface of your box avoiding the lid seam and hardware. Allow to dry completely and seal with a clear coat. Repeat steps on the interior of the box or leave bare.
Tip
Have dried drips of paint? Simply sand the area smooth when completely dry and repaint before sealing.
Step 3: Add Decorative Knob
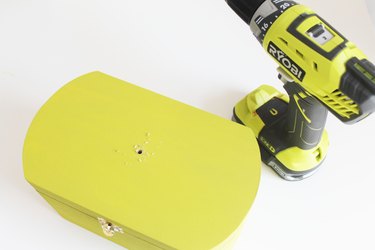
Drill a hole in the center of the lid using a drill bit the same size as your knob's hardware. Attach the decorative knob by tightening its bolt on the inside of the box.
Step 4: Store & Style
Attach felt dots on the bottom of your finished box to prevent scratching on surfaces. Fill your new jewelry box with your favorite accessories and style on your vanity or dresser!
